Wick spacing made simple (5/16" wicks, 6"–16" containers)
Once you understand how wicks deliver water, the next step is placement.
Spacing matters more than people expect—because each wick creates its own moisture zone, and how those zones overlap determines how evenly your plant is hydrated.
This guide keeps it simple using 5/16" cotton wicks across common container sizes.
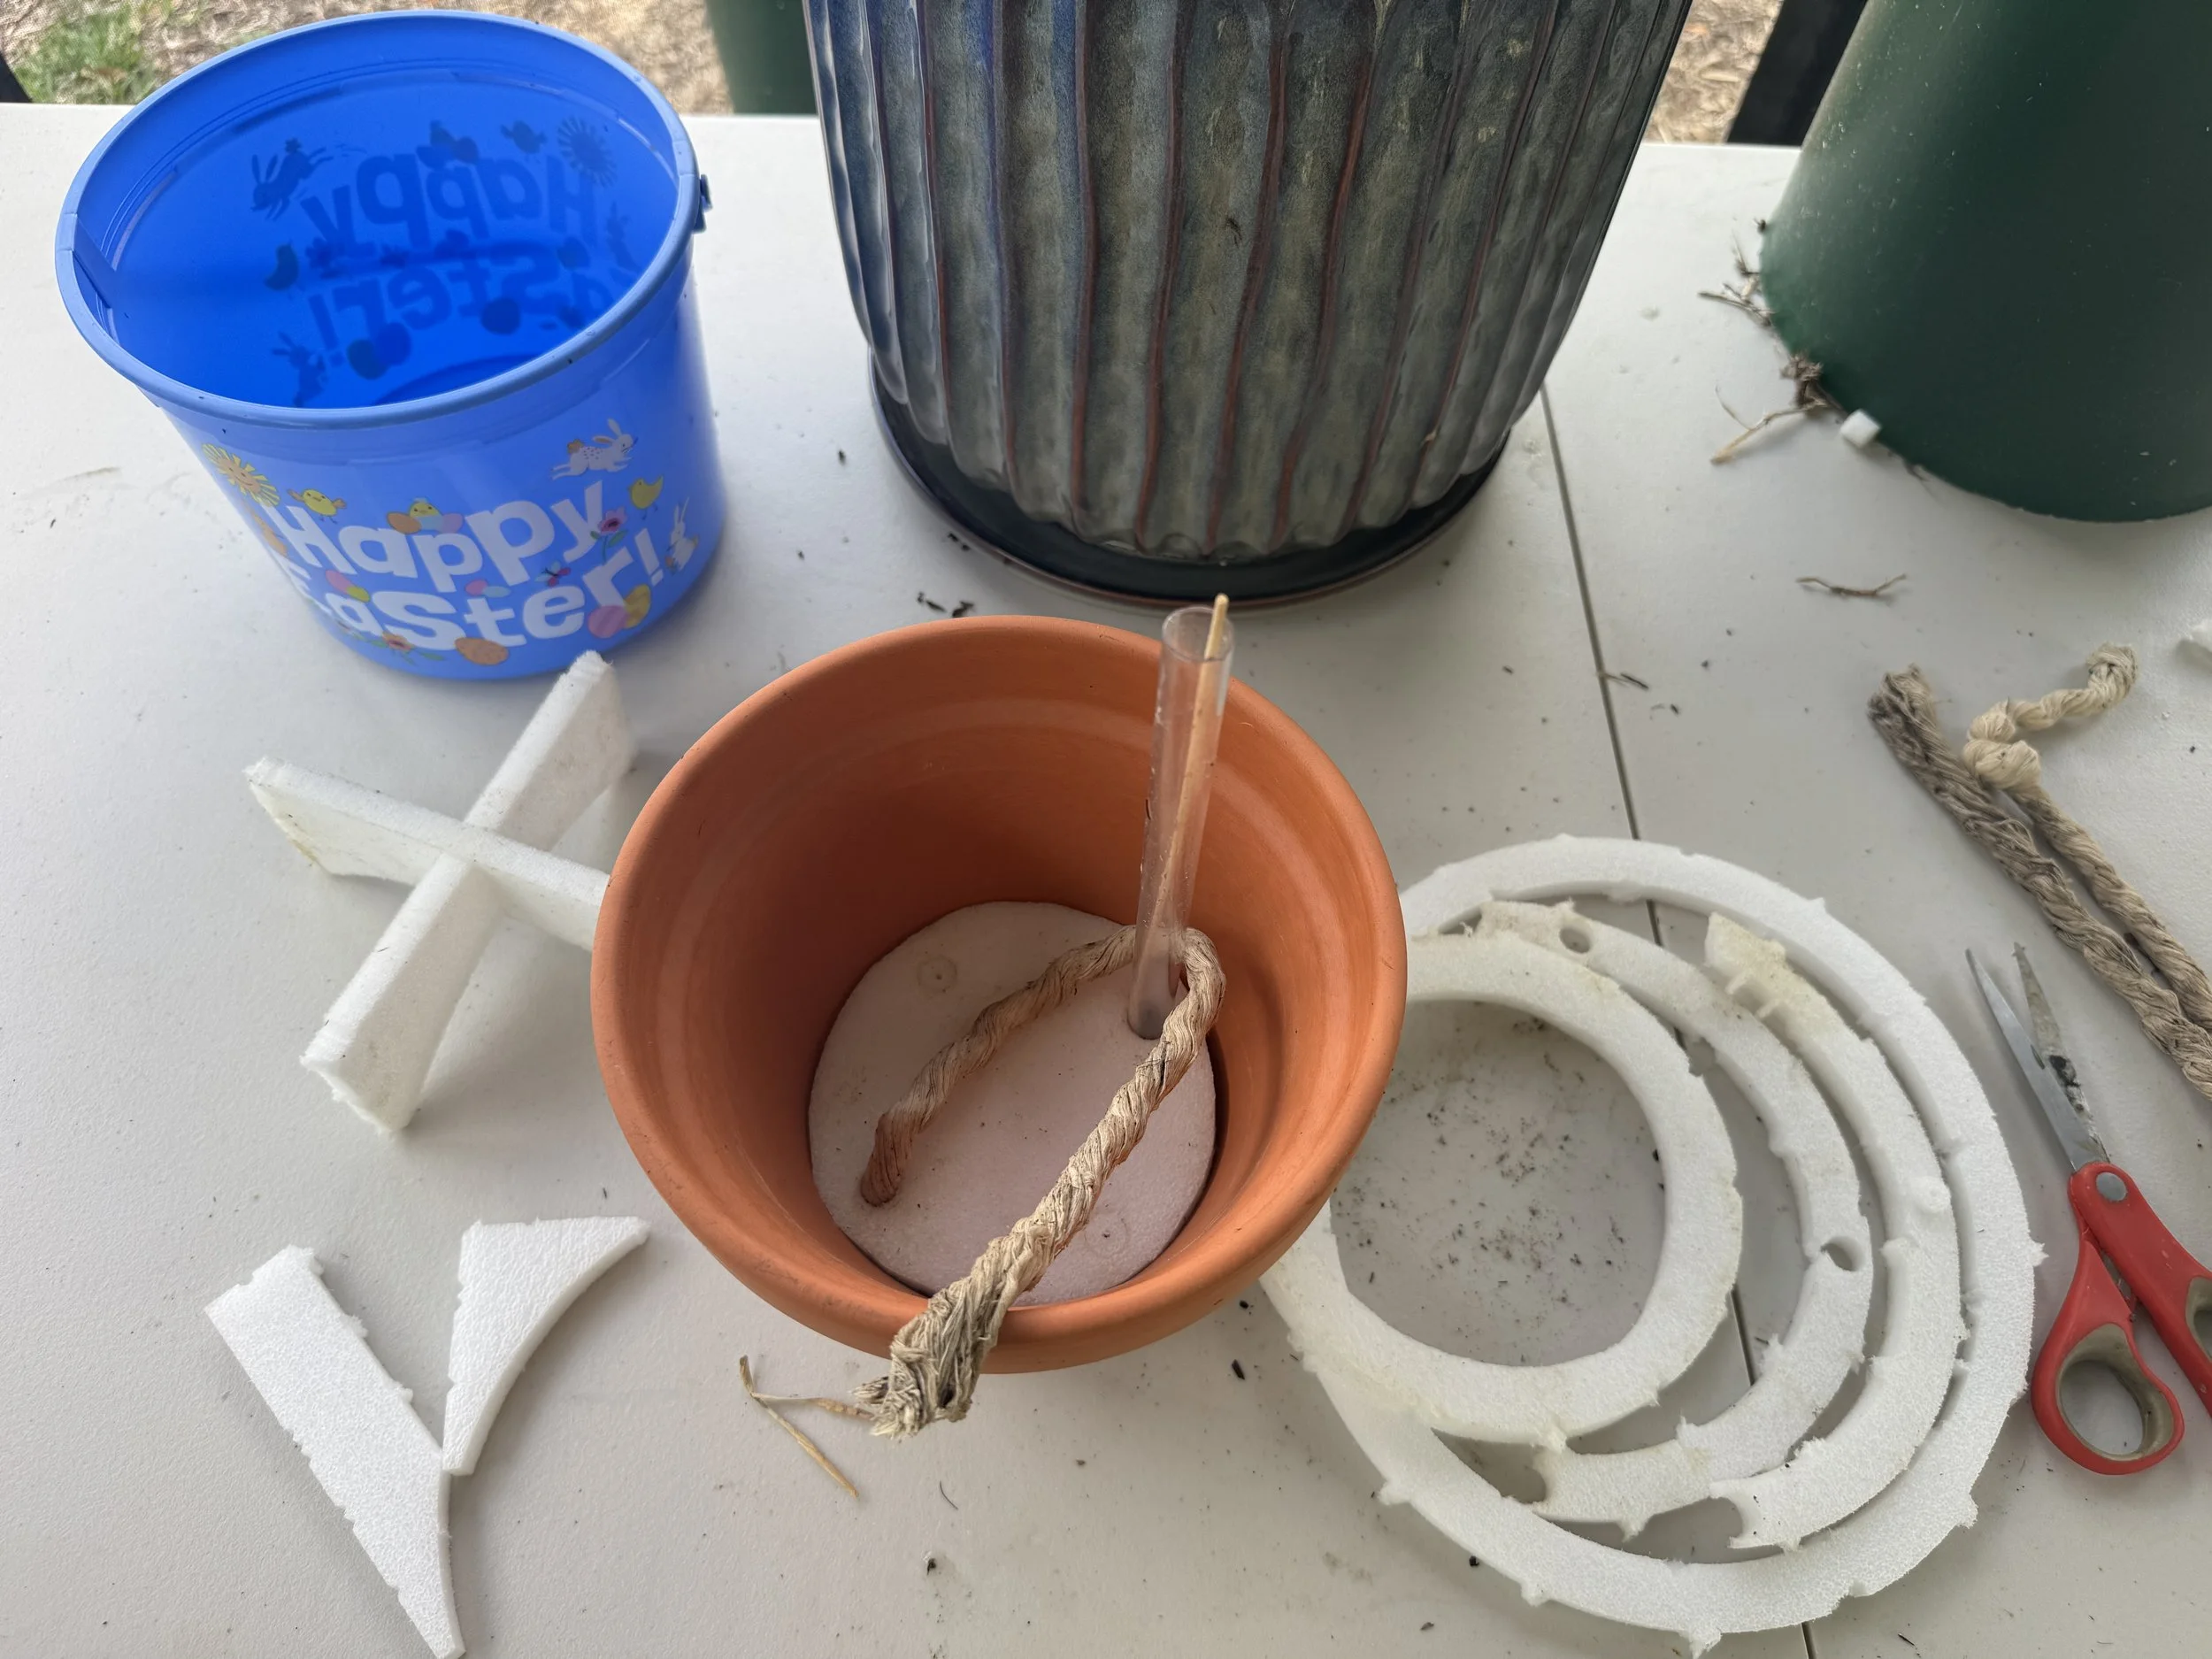
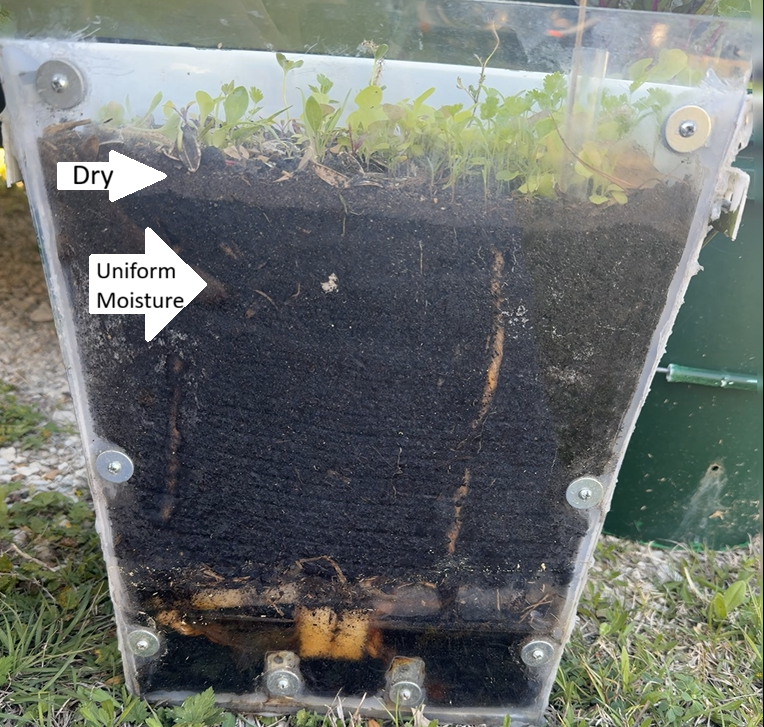
6in Terracotta Container with 1x Wick Installed
How to think about spacing
Each wick hydrates a circular zone around it.
Close to the wick = very moist
Farther away = gradually drier
Overlap = balanced, consistent moisture
Goal: light overlap between zones—not full saturation everywhere.
Container size → wick count → spacing
6–8 inch containers (small pots)
1 wick (centered)
Optional: 2 wicks opposite each other for thirstier plants
Spacing: if 2 wicks, place ~2–3 inches apart
10–12 inch containers (medium pots)
2 wicks recommended
Place on opposite sides of center
Spacing: ~3–5 inches apart
14–16 inch containers (large pots)
3–4 wicks
Triangle (3) or square (4) layout
Spacing: ~4–6 inches between wicks
Rule of thumb:
You want coverage across the container without stacking all the moisture in one spot.
Plant-specific placement (this is where you gain control)
Not all plants use water the same way. You can bias wick placement toward where demand is highest.
Vegetables (high water demand)
Examples: tomatoes, peppers, cucumbers
Use more wicks for the container size
Place 1–2 wicks closer to the main stem/root zone
Spread remaining wicks outward for coverage
Example:
A tomato in a 14" container
→ 3 wicks total
→ 2 positioned closer to the plant base
→ 1 offset to balance the container
This ensures strong supply where the plant pulls hardest.
Flowers (moderate demand)
Examples: petunias, marigolds, geraniums
Even spacing works best
2–3 wicks depending on container size
Avoid clustering—flowers prefer balanced moisture
Decorative / drought-tolerant plants
Examples: succulents, lavender, some ornamental grasses
Fewer wicks
Wider spacing
Keep at least part of the container slightly drier
Example:
12" container
→ 1–2 wicks max
→ positioned off-center
This prevents constant saturation.
When spacing goes wrong
Too close together:
Overlapping saturation
Reduced oxygen in soil
Risk of overwatering (especially in small containers)
Too far apart:
Dry pockets
Uneven growth
Roots clustering only near water sources
The sweet spot is controlled overlap.
Keep it adjustable
The advantage of the Oasis system is flexibility.
You’re not locked in.
Start with fewer wicks if unsure
Add or reposition based on plant response
Watch how soil moisture behaves over the first week
Plants will tell you quickly if they want more—or less.
Bottom line
Wicks aren’t just about moving water—they define where water lives in your container.
Get the spacing right, and you create:
even moisture
healthier roots
more predictable growth
Get it wrong, and you’re back to guessing.
Dial it in once—and the system does the rest.